TRN H2
Pristine, Refined Audio Perfection
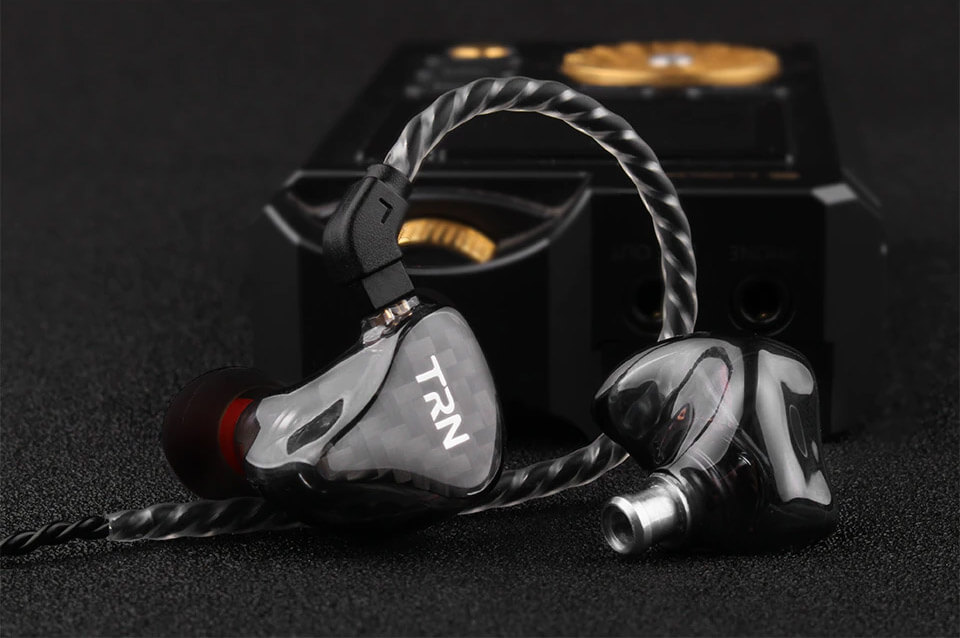
Advanced DLP 3D printing technology
Detachable cable
Optimum comfort
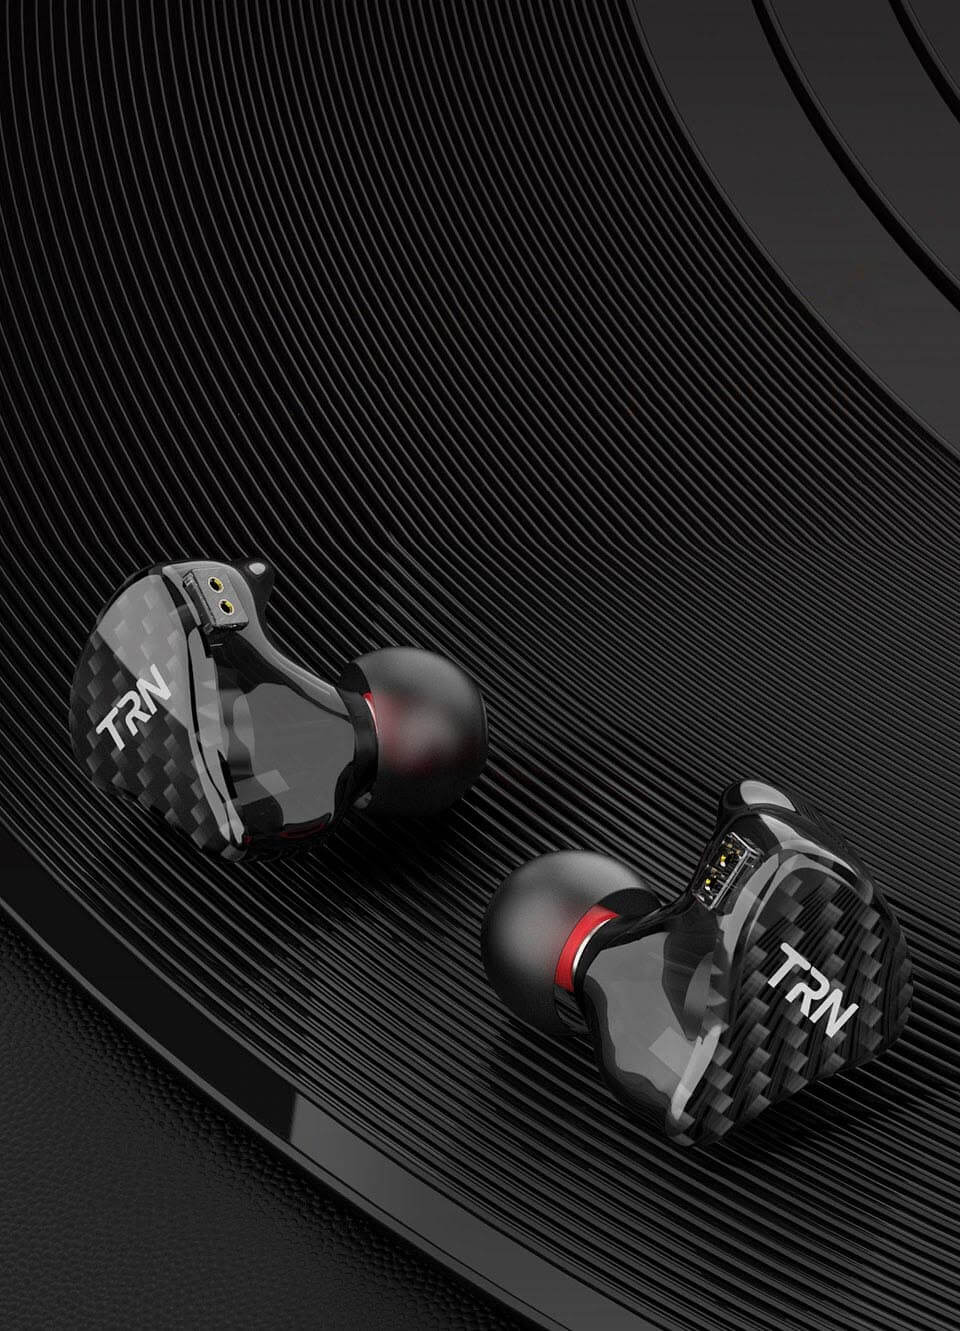
Pioneering 3D Printing Technology
Using Sophisticated Manufacturing Process
TRN employs highly advanced DLP 3D industrial-grade printing technology with an accuracy of 25 microns. Compared to conventional injection molding or mold-cutting processes, DLP 3D printing allows utmost consistency and precision. TRN H2 earphones made with such a forging process not only look good but perform better too.
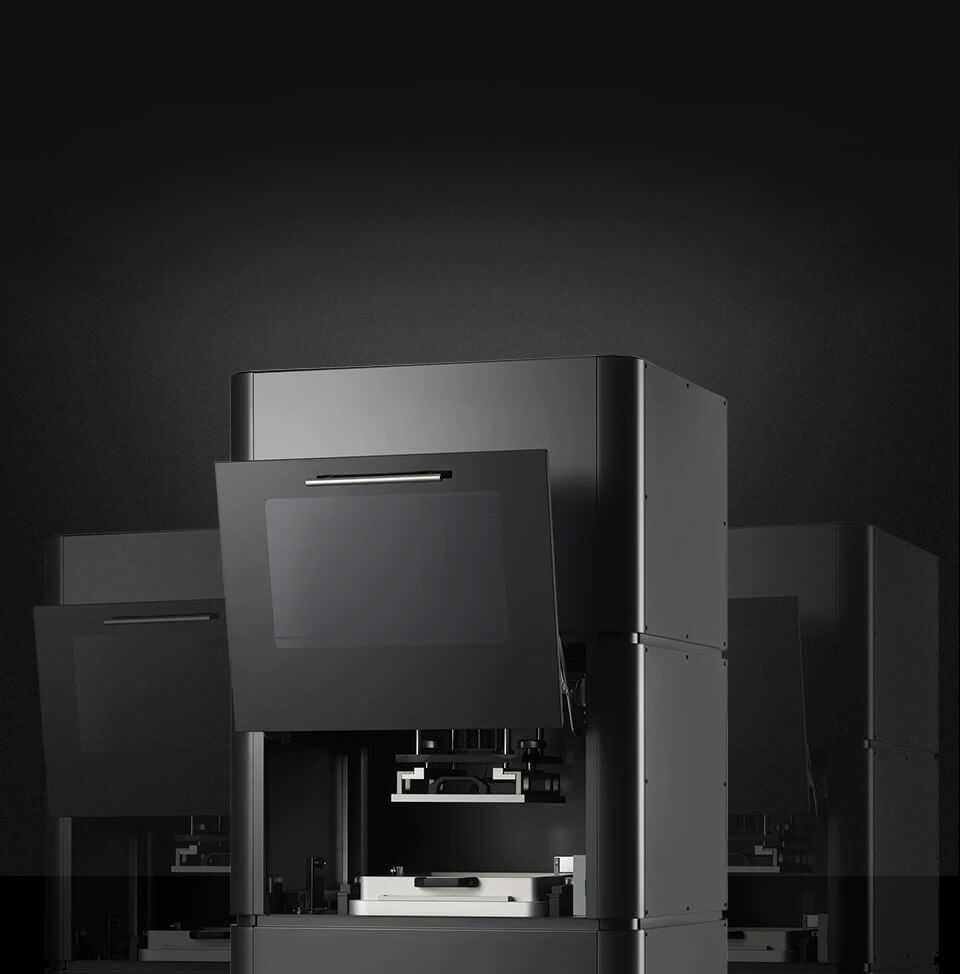
Vat Polymerization Adopts Photopolymer Resin Cured Under A Light Source
TRN H2 is made from imported medical-grade photo-curing resin that is skin-friendly, durable, highly stable, and resists UV discoloration.
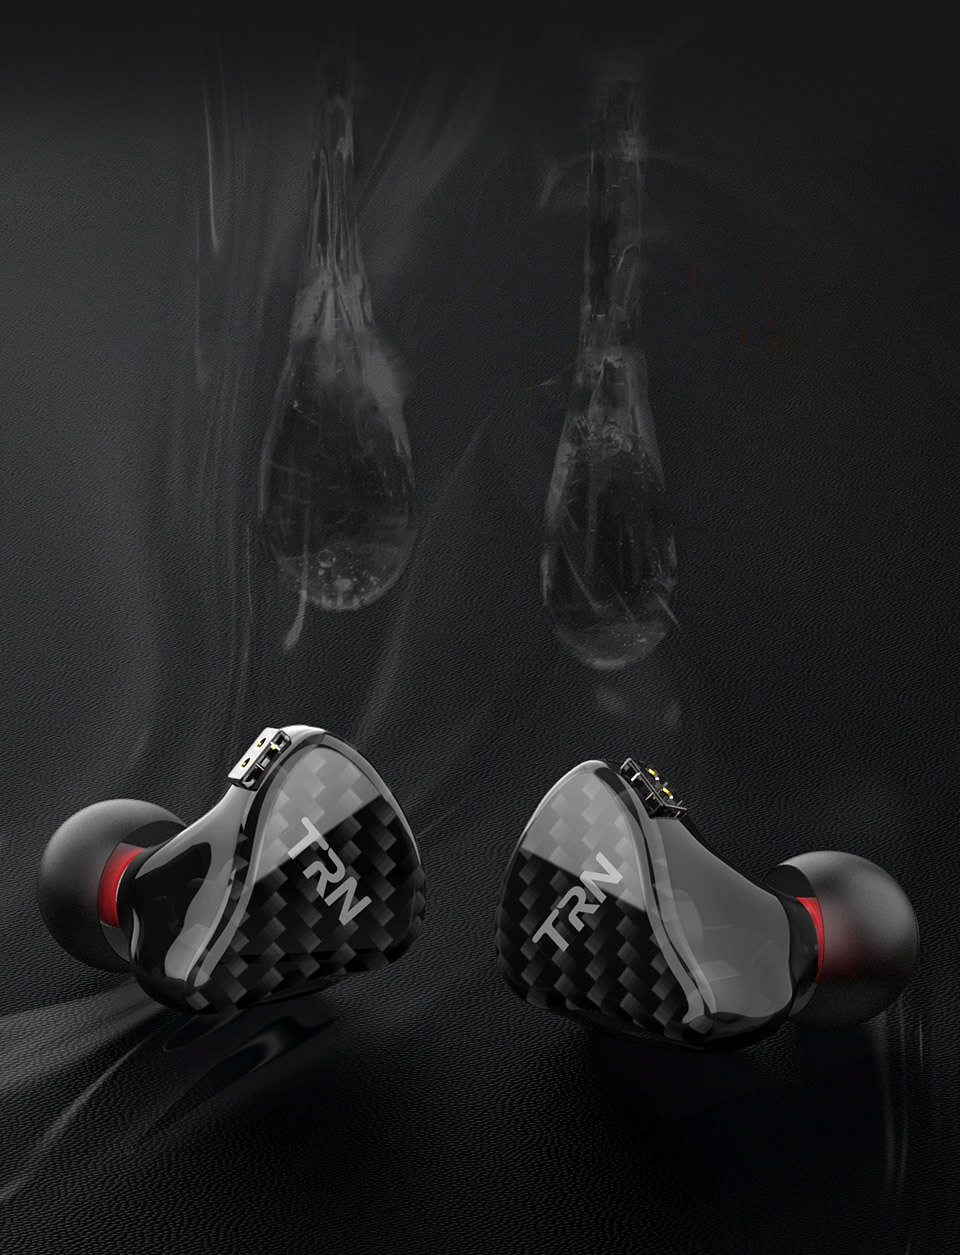
Equipped With 8mm Dynamic Driver
Increased driver sensitivity by 5-10% gives deeper, richer, more potent bass and luscious and velvety midrange.
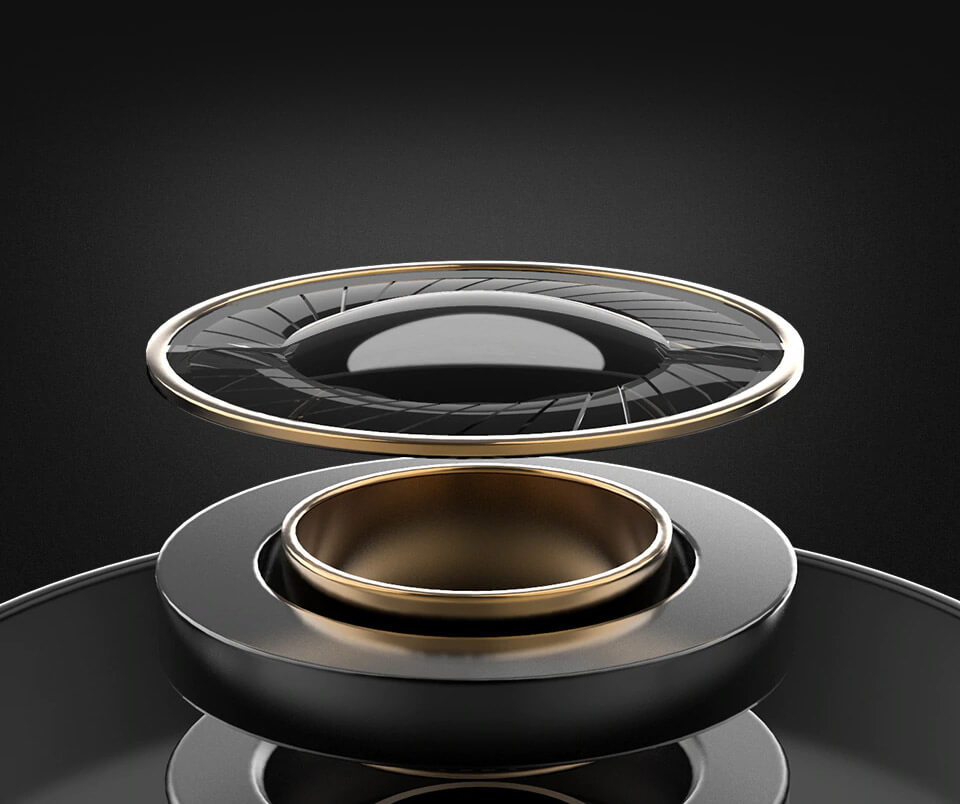
Extraordinary High-Resolution
TRN H2 has a relaxed and balanced sound signature.
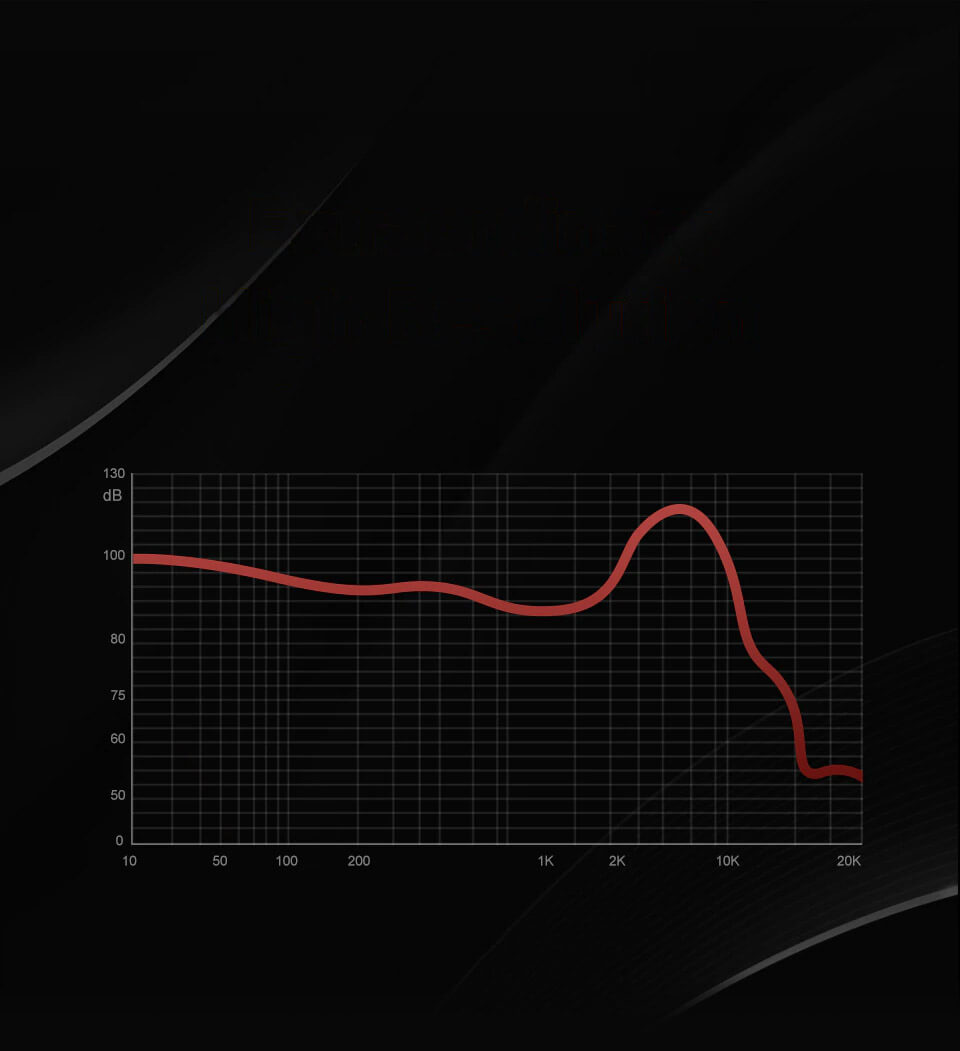
* Please note: TRN derives its data in a highly controlled laboratory testing environment. The user’s experience may vary in actual use.
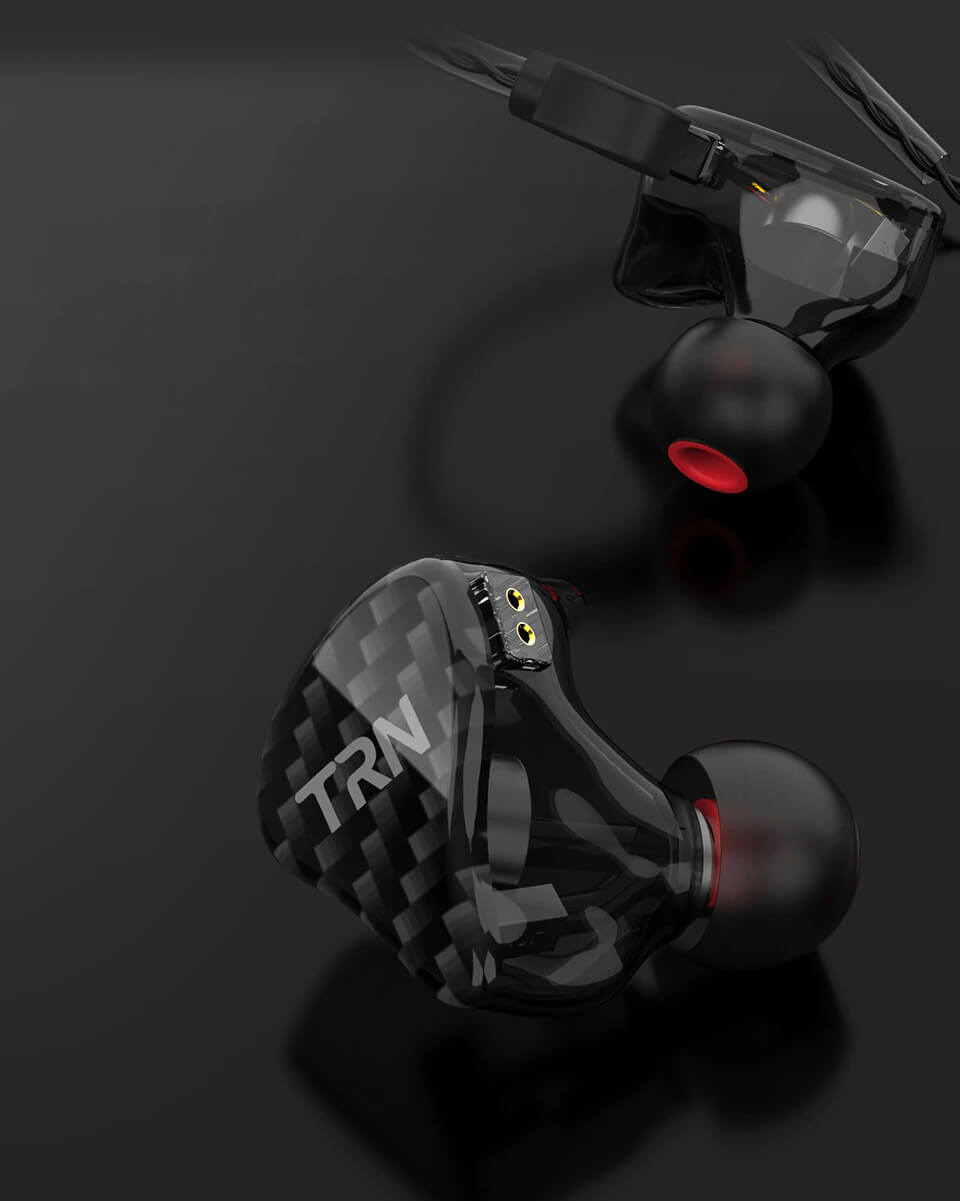
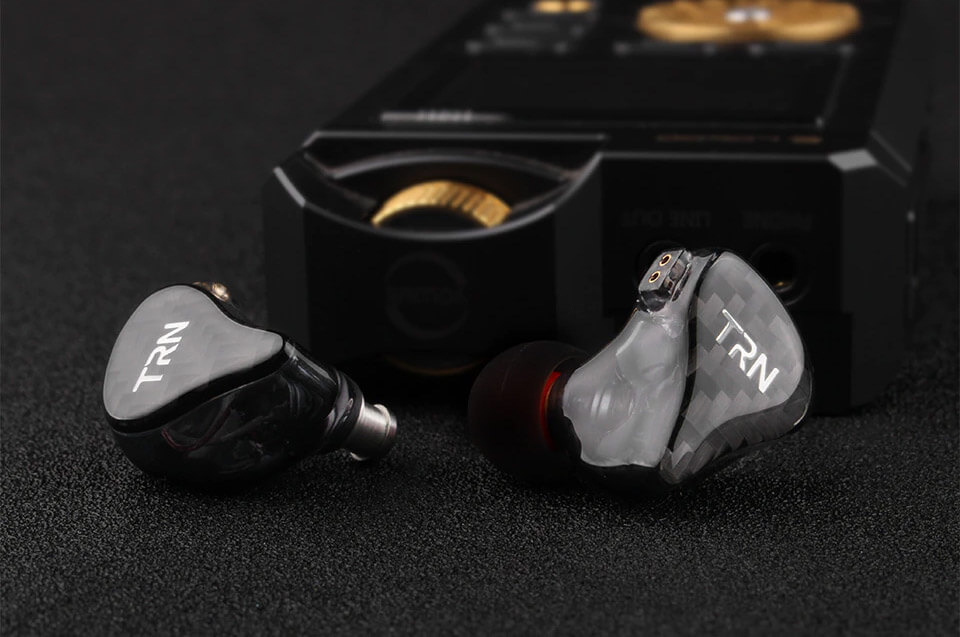
Translucent Shell
Satisfy your curiosity with its inner beauty.
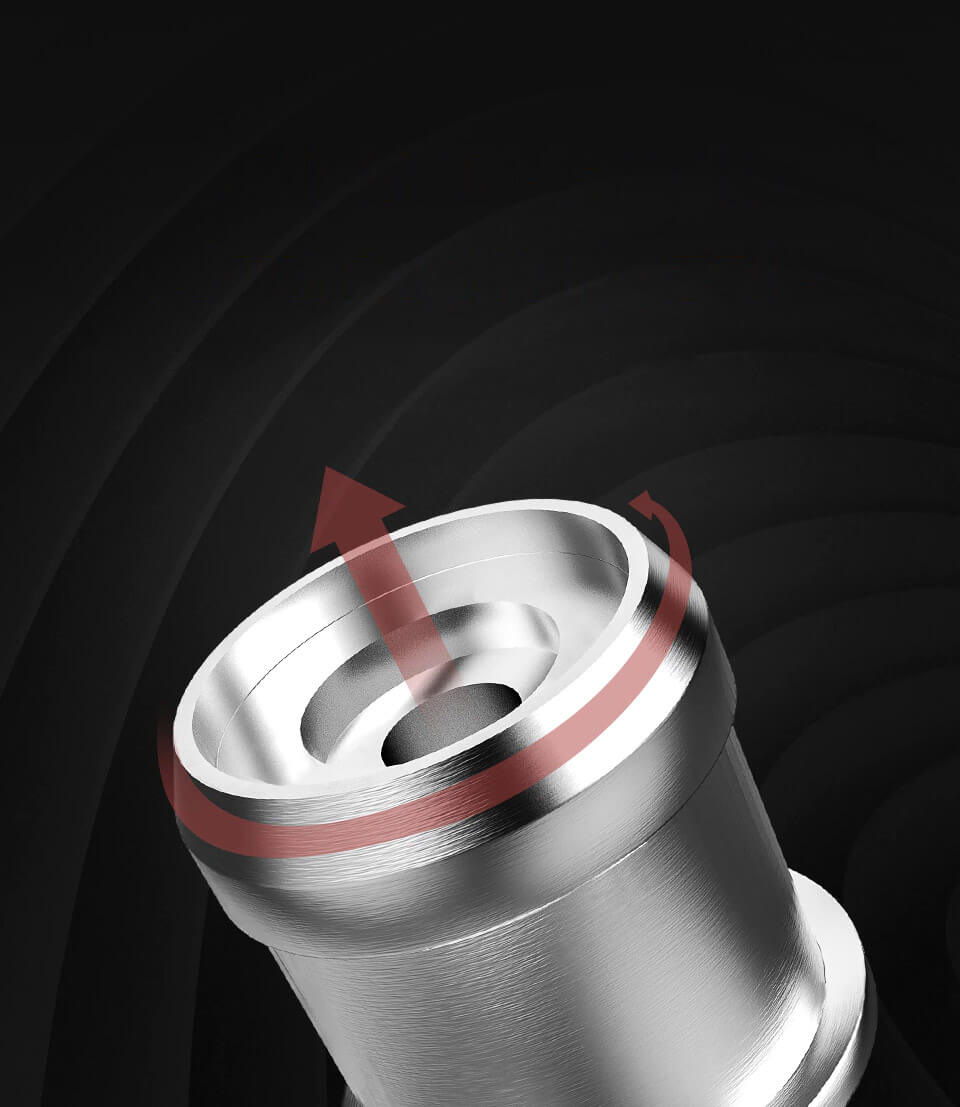
Aviation-Grade Aluminum Nozzle
Aerospace alloy concentrates sound energy, increases sound density which effectively reduces high-frequency glare.
2 Pins Are Better Than 1
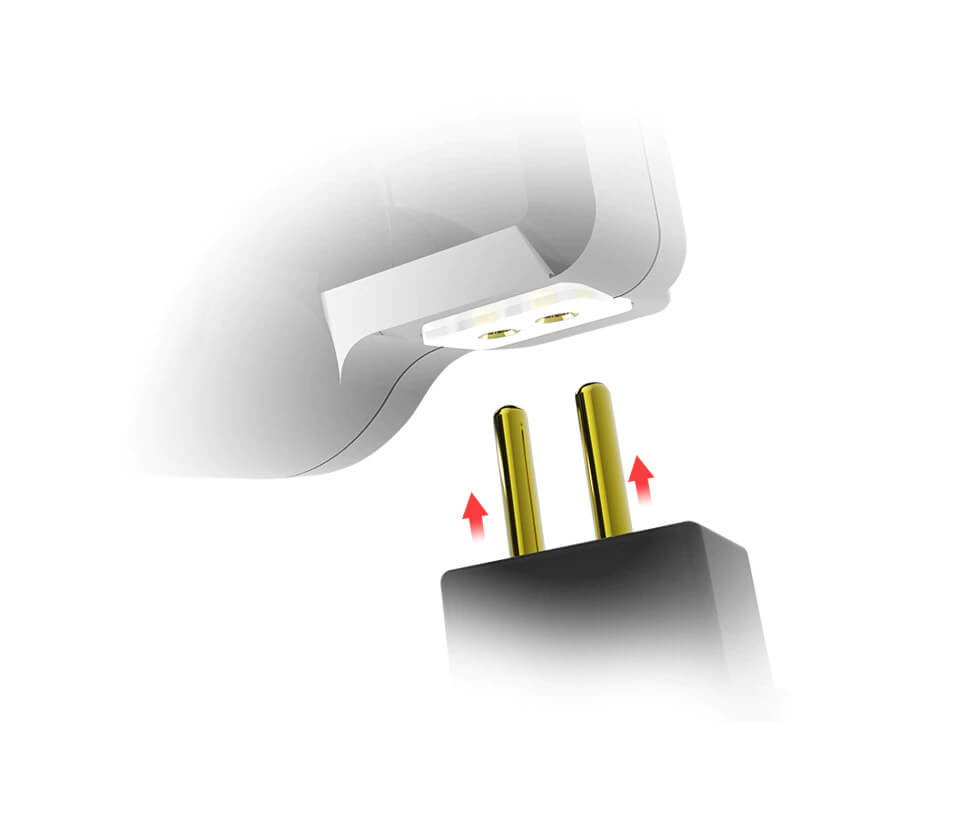
MMCX or 0.75mm 2-pins? TRN engineers were torn between these two popular connectors but decided to adopt the latter due to better connectivity and long-term durability.
The stock cable consists of 4 cores, each with 56-strand oxygen-free copper reinforced with high-density 250D nylon fibers and braided into a PVC jacket for durability and flexibility.
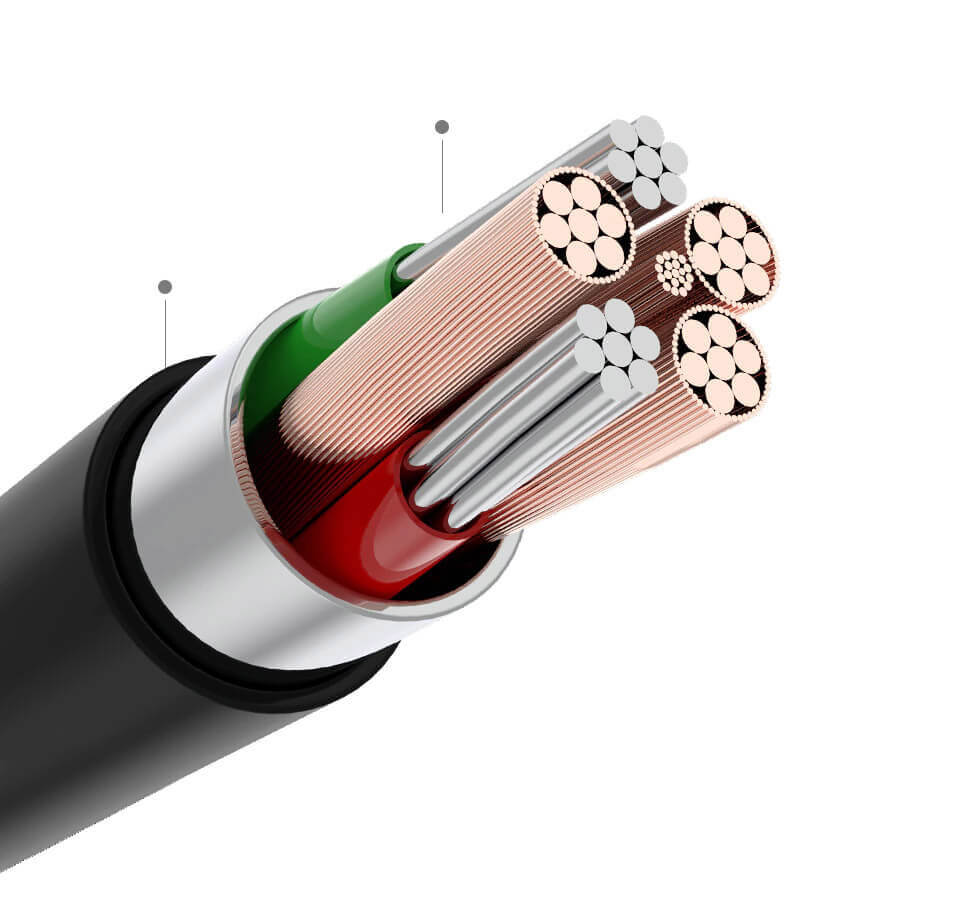
PVC jacket
56-strand OFC
Convenience at your fingertips. TRN H2 is compatible with many mobile devices and audio equipment in the market today.
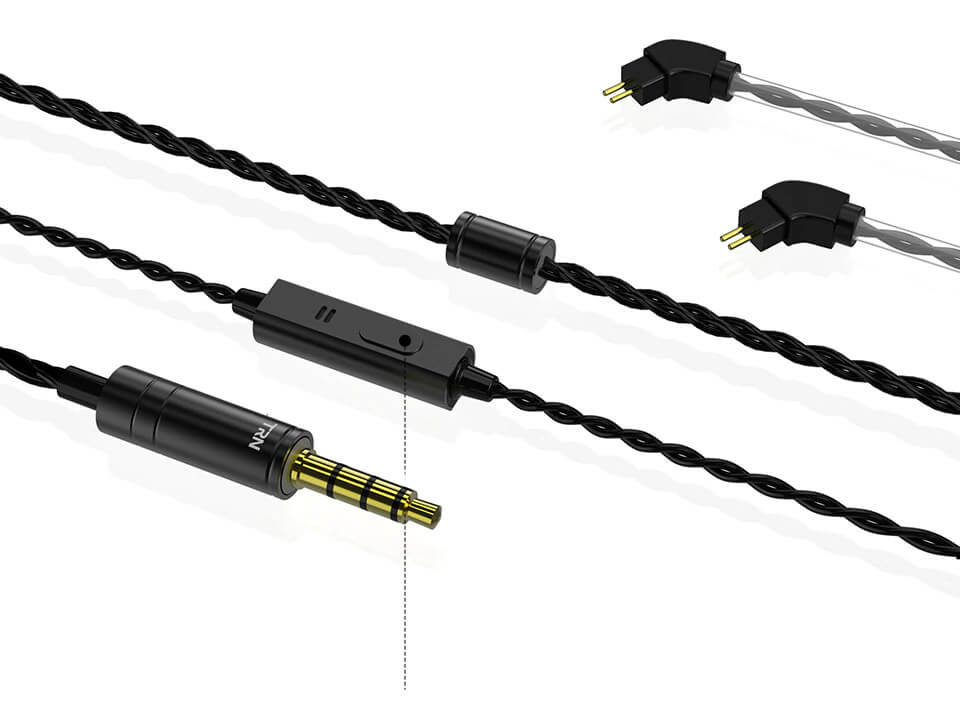
Phone: Answer / End call
Music: Play / Pause / Next track / Previous track
Contents & Packaging
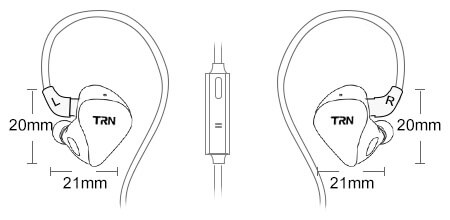
TRN H2 Earphone x 1 pair

Braided cable x 1 piece

Silicone ear tips (S,M,L) x 3 pairs

User guide x 1
Actual product specifications may vary, and all features, functionality, and other product specifications are subject to change without notice or obligation.
Attaching cable
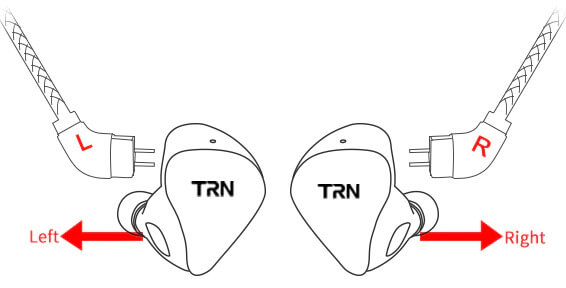
Match left, and right earpieces to the correct channel stated on the cable connectors.
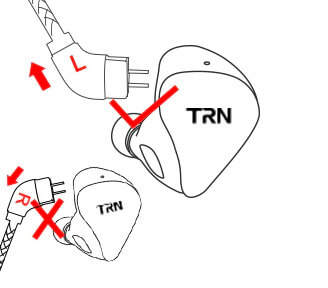
DO NOT connect reverse.
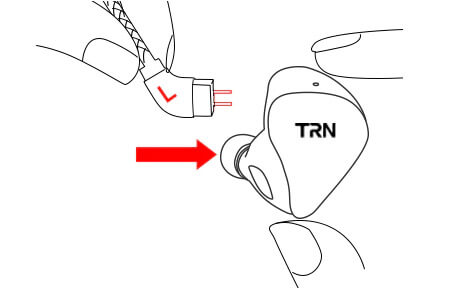
Plug cable connector to the earpiece.
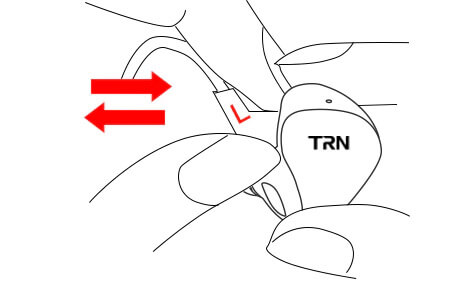
Insert until the earpiece is secure. To remove, grab the earpiece and cable connector, pull straight.
How to properly fit an IEM
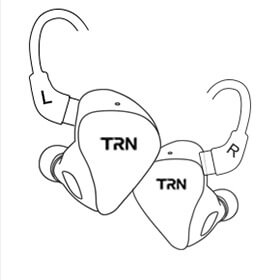
Identify the left and right earpieces.
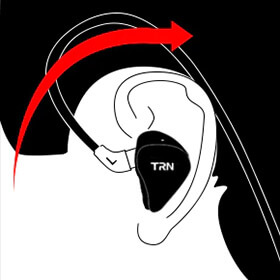
Bring hand overhead and grasp the top of the ear.
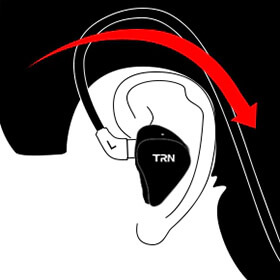
Pull the ear up and out to straighten the ear canal.
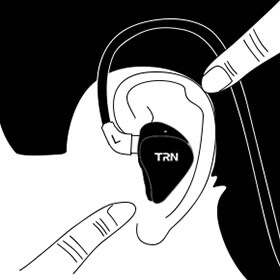
Loop memory wire over-ear and insert earpiece into the ear canal.
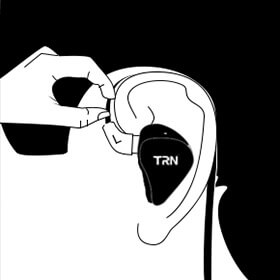
Be sure to slide the ear tip far enough until it seals inside your ear.
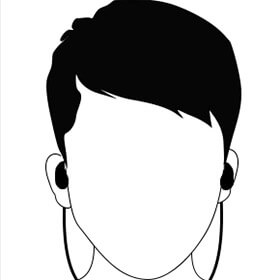
The quality of sound and isolation depends on how well the ear tips seal. If lacking bass, check the tightness of the seal between ear tips and your ears or try other ear tip sizes.


